Photo Archive - Sept/Oct 2025
I finished up with the painting on the main level of Lisa's house as it slowly becomes ready for move in time. I also removed all the doors on the main level and downstairs in preparation for the installation of new doors which will be delivered soon. Then after the new doors & casings are installed I will continue painting them, and the entire downstairs.
View our "Projects of the Week" photo albums on our Facebook page, and other videos as well
Projects of the Week 10/25/25
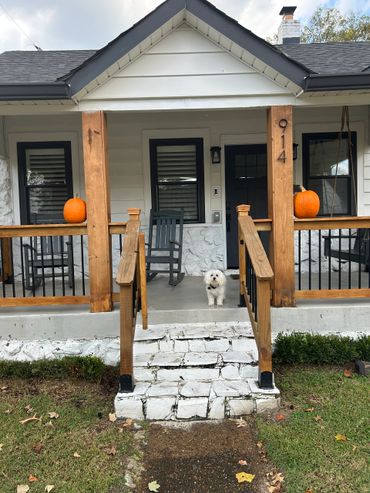
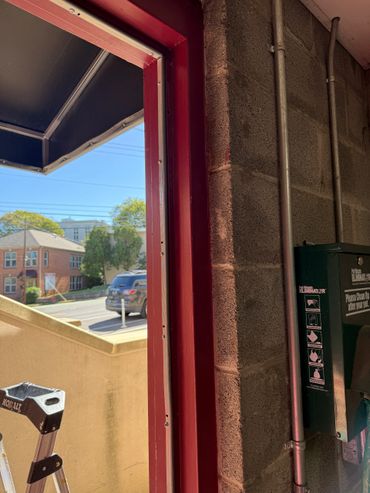
This past week started out at my friend Lisa's again where I just finished up her porch enclosure. She asked me to hang her new hanging outdoor lighting all around her front porch.
Then I installed a garage hanging storage rack for a new client in Mt Juliet.
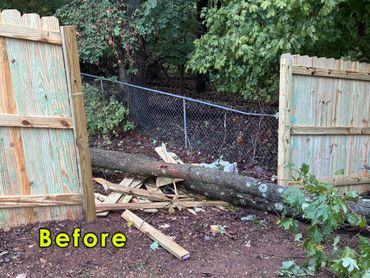
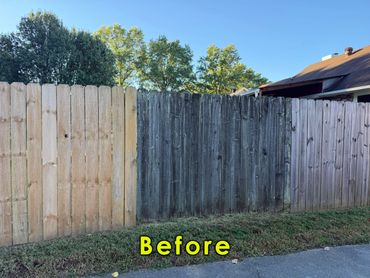
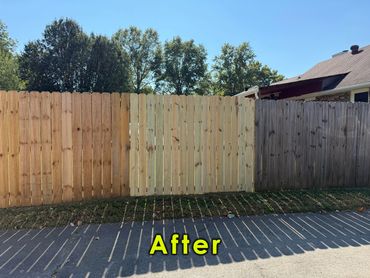
Anjie, another awesome regular client of mine texted me a couple photos this past week of the destruction of a section of her new fence cause by a falling tree. The tree fell from the neighbor's side of the fence, and the neighbor agreed to cut up the tree, while Anjie covered the cost of the fence repair. That's where I came in. I patched in the new section of fencing to look just the way it did before the tree took it out.
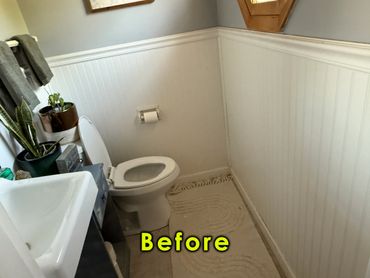
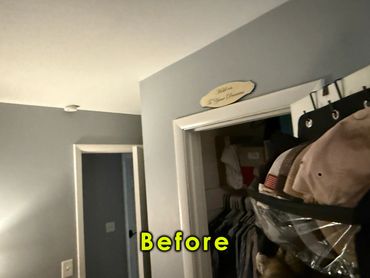
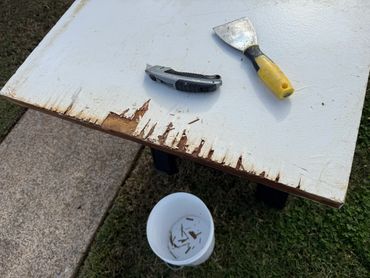
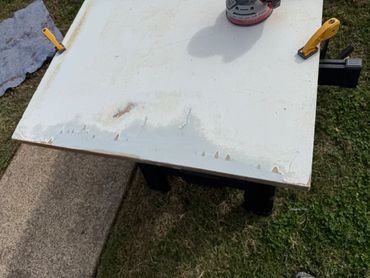
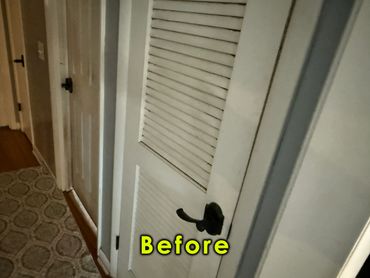
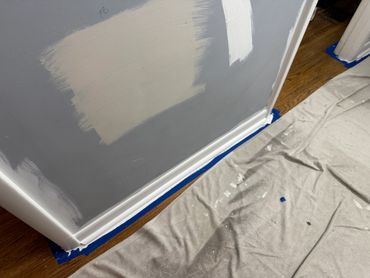
Then finally, at the end of this past week I began phase 3 in the multi-phase painting project for my client, Amanda. This phase will include her Master Bedroom, including her Master 1/2 bath, and hallway. Which includes one side of all the doors in the hall. One door badly needed some repairs. The bottom was badly damaged, so I scraped off any loose wood, sanded it, filled in the area with Bondo, and then sanded it smooth. The louver door for the HVAC closet was very dirty due to the air return inside the closet, so air (and dust) flows through the louver slats. It needed deep cleaning, so after cleaning and sanding it, I painted both sides of that door.
View our "Projects of the Week" photo albums on our Facebook page, and other videos as well


Projects of the Week 10/18/25
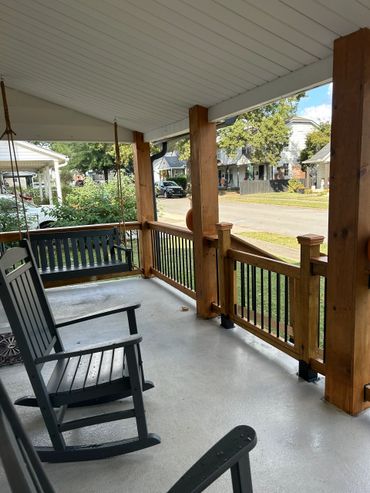
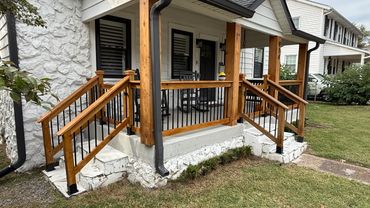
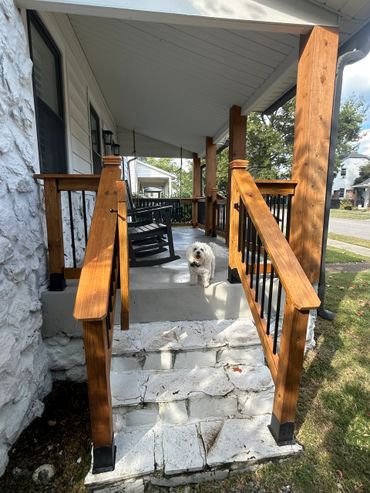
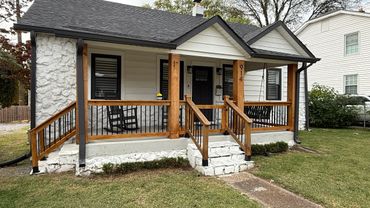
Lisa's Porch Enclosure- PART 2 (PART 1 pics are in last week's album)
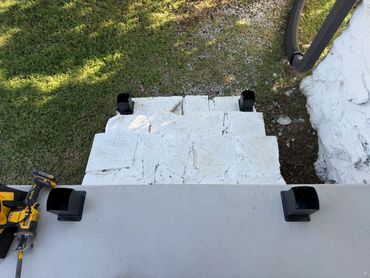
Lisa, who I've done a ton of work for over the last couple years called me back once again to build an enclose around her front porch so she can hang out there with her little dog without him running off. The plan was to match her existing front stair railing using 2x4s, aluminum tube balusters, and a deck board cap all around. I also removed the large skirt trim around the large posts, and plan to install smaller, shorter trim, or none at all. The 4x4 post braces were replaced at the bottom of her existing stair rail posts that are more decorative. I even painted the concrete screw heads darker to match the braces. I also had to touch up the stain around the large posts. All the lumber I'm using was stained prior to construction & assembly also. The existing stair posts at the top of the stairs were replaced, and capped. She has a stair case at the end of her porch that never had a handrail, so I built & set new stair railings for those stairs as well. I used the same new decorative stair rail post braces there that I used on the front stair rail. Both stair cases have a gate also to fully enclose the porch.
The Property Management company, The Verdei Group have called me regularly for the last few years, and I've done a ton of work for them. This past week I repaired a piece of weather stripping that was knocked loose from someone moving into a unit at a town home property The Verdei Group manages.
Another regular client of mine asked me to replace a section of fencing that was missed during various past fence projects over the years.
View our "Projects of the Week" photo albums on our Facebook page, and other videos as well


Projects of the Week 10/11/25
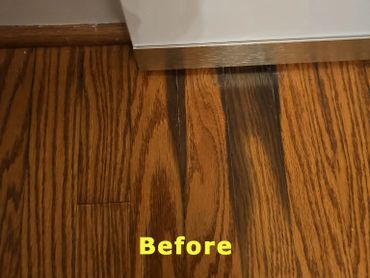
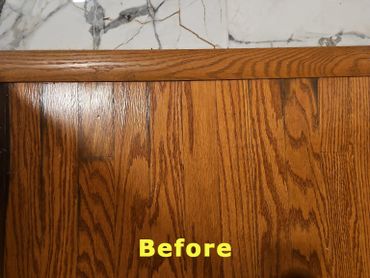
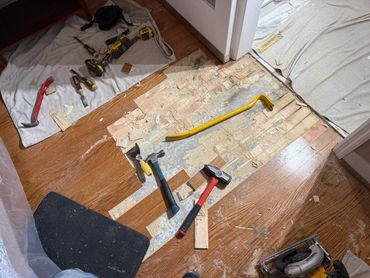
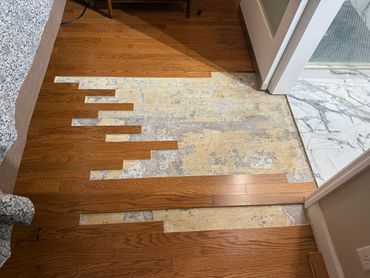
The past week started at a regular client's house where our company had installed large format tiles in their bathroom. We also installed as new shower valve and trim which had a small leak, which we fixed immediately. However, water had gotten underneath their flooring which caused it to turn black in various areas just outside the bathroom door. He has an entire box of the flooring that was stored in the garage, and was in no rush to have the flooring replaced, but I was able to start it this past week. The flooring needs to acclimate inside the house, and I will be installing the new planks this coming week.
Another regular client Kathy who's Master Bathroom I recently remodeled called me because her hall bath faucet was dripping. I suggested that she call Delta, and they sent her 2 new valve cartridges. I then returned and installed them. However, that didn't stop the leak, so she went out and picked up a new one, and I installed that. She's much happier with a new faucet. Notice her little sign next to the faucet.
Lisa, who I've done a ton of work for over the last couple years called me back once again to build an enclose around her front porch so she can hang out there with her little dog without him running off. The plan is to match her existing stair railing using 2x4s, aluminum tube balusters, and a deck board cap all around. I also removed the large skirt trim around the large posts, and plan to install smaller, shorter trim, or none at all. The 4x4 post braces were replaced at the bottom of her existing stair rail posts that are more decorative. I even painted the concrete screw heads darker to match the braces. I also had to touch up the stain around the large posts. All the lumber I'm using was stained prior to construction & assembly also. The existing stair posts at the top of the stairs will be replaced, and capped. She has a stair case at the end of her porch that never had a handrail, so I'm building & setting new stair railings for those stairs as well. I'm using the same new decorative stair rail post braces there that I used on the other stair rail. Both stair cases will have a gate also to enclose the porch.
View our "Projects of the Week" photo albums on our Facebook page, and other videos as well


Projects of the Week 10/04/25
Final photos from phase 2 of Amanda's painting project. The living room, dining area, and kitchen. At the end of October I will be starting phase 3. Her hallway, bedrooms, and Master Bathroom. Her hall bath will be remodeled soon, so I'm not painting that yet.
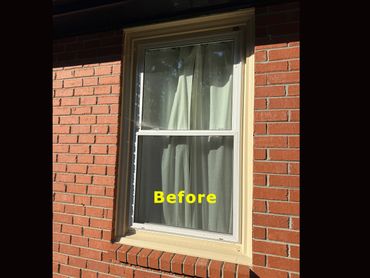
I finished up the rest of my regular client Anjie's exterior window trim. Over the last year I've been replacing much of her exterior trim and siding with cedar, and these 3 windows were the last that needed done.
My other regular client Lisa, also called me back to put in a new little fence & gate to enclose off a section between her sunroom and fence for her little dog. That way her dog can go outside anytime he wants via the doggie door that I installed on the side of the sunroom some time ago. It will be easier for Lisa to keep the small enclosed area clean & maintained from leaves so the pup doesn't track too many leaves that stick to his fur into the house.
View our "Projects of the Week" photo albums on our Facebook page, and other videos as well


Projects of the Week 09/27/25
This past week I began a fairly good sized painting project. It's actually the 2nd phase of a 3 phase entire house interior paint project. The previous week I showed the finished work from phase one which was my client Amanda's downstairs dwelling. I started off this past week in her main living areas (Living room, dining area, and kitchen). There was a tremendous amount of prep work that had to be done first. Including the installation of new base & 1/4 round molding around her island, repaired a long crack in her ceiling, patched in a couple of old drywall repairs, and secured the wood paneling at one of the corners that was kept separating, causing the old finish to split and create a crack on the corner. Then I performed many basic preparation tasks including masking, hole filling, and caulking all over. I managed to get most of the painting done, including doors, trim and ceiling with only the walls remaining which I'll be completing on Monday of this upcoming week. I'll be posting the finished photos in next week's album.
On Saturday I went back over to my regular client Anjie's place to start on finishing up with installing cedar trim on her last 3 windows. I had installed cedar trim on all the window on the front of her house earlier this year. I completed 2 of them, with the exception of the caulking, and will be completing the last one this upcoming week. All the old window trim had to be removed from these 2 windows, then I used wood backing to build it out some. Than installed the new cedar trim on top.
View our "Projects of the Week" photo albums on our Facebook page, and other videos as well


Projects of the Week 09/20/25
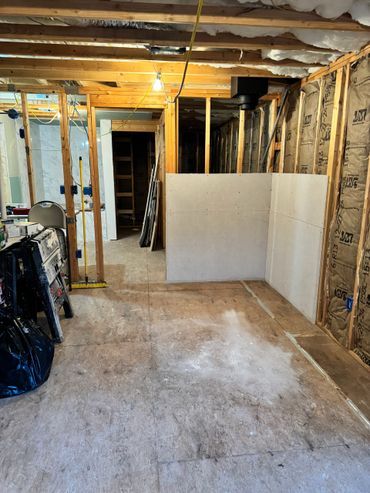
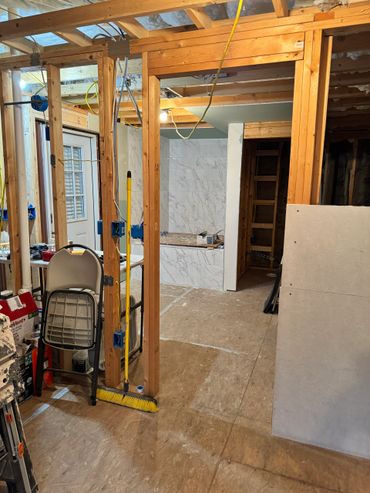
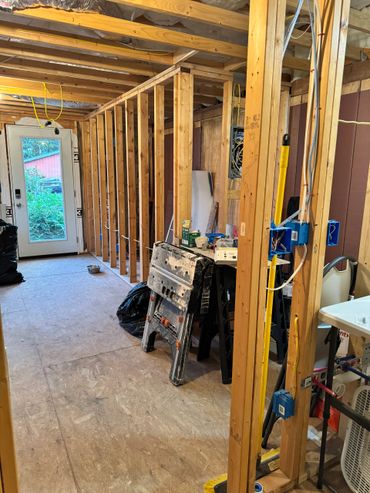
After the tile installation project at my friend & client Trevor's new addition there is a break until the first week in October before I begin hanging the drywall there. Before drywall I will be running the new ducting for both of his exhaust fans. Then after the drywall I'll be moving on to the new flooring.
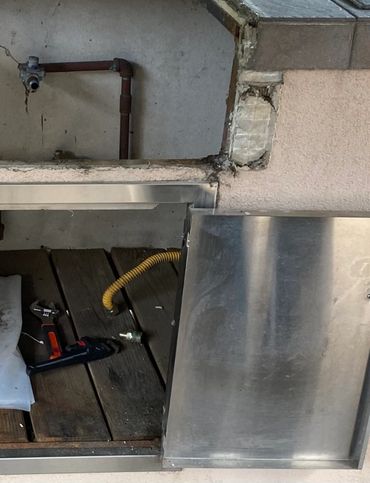
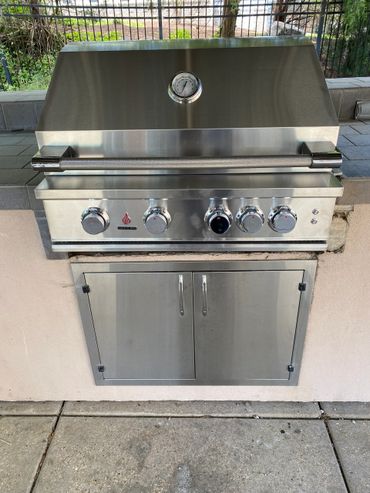
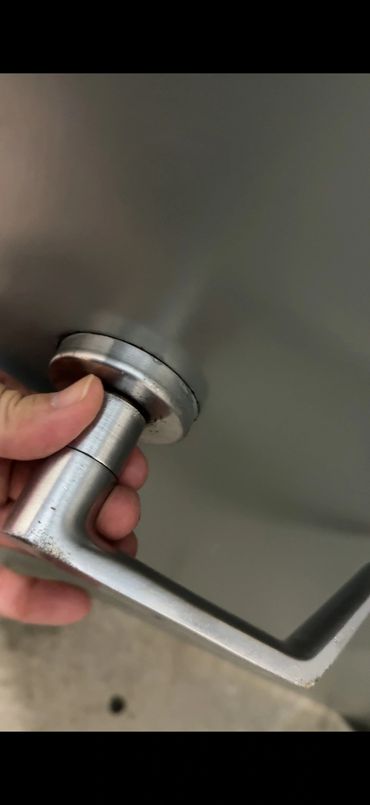
During this break I've been servicing some of my other clients on their smaller projects. Including a small tile patch job adjacent to a couple of outdoor grills at a townhome complex in Nashville that is managed by The Verdei Group property management who I've been doing work for almost since I've lived out here. I also re-attached an entry door handle for them as well.
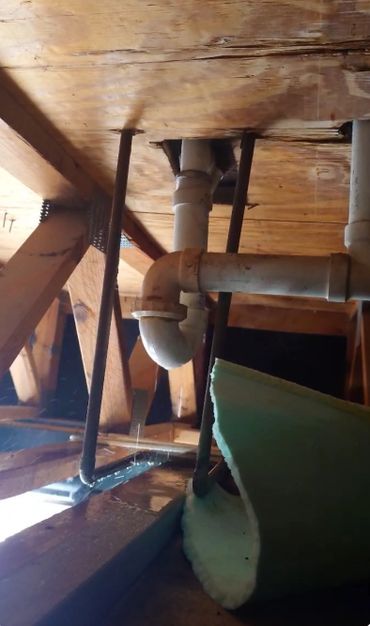
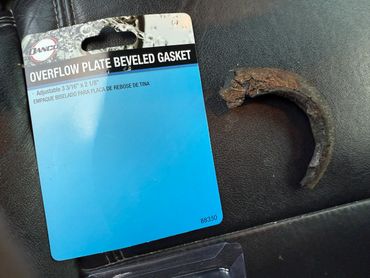
I was also called out to investigate a leak a client had when they were giving their small children a bath. It turned out that the water was leaking from around their tub overflow cap due to a disintegrated cap gasket, so I replaced that for them.
I posted pics last week of a paint job that I completed for my client Amanda's downstairs dwelling. She liked it so much that I'm now going back this upcoming week to paint her kitchen, dining room and living room. First there will be quite a bit of prep work before I actually start painting, including some drywall repair, and trim installation. Her hall, bathrooms, and bedrooms will be scheduled for a later date.
View our "Projects of the Week" photo albums on our Facebook page, and other videos as well


Projects of the Week 09/13/25
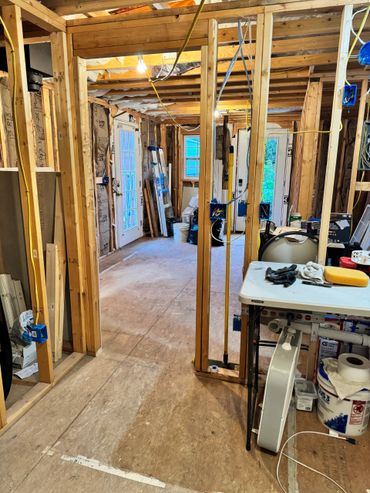
I wrapped up the tile project at my friend Trevor's new addition this past week. I set the last few tiles and the satin nickel aluminum bull nosing, then grouted all around. I'll be moving on to hanging the drywall there next, then flooring, followed by the doors and trim all around. I'll finish it all up by painting the inside of the new addition after all the other phases are completed.
I also completed a small painting job for a regular client in Hermitage who rented out her downstairs dwelling with a kitchenette to a friend, but they have moved out. Now she wants to use it herself instead of renting out again. There were some areas where I had to replace the baseboard and 1/4 round molding, and filled a lot of small holes in the walls as well before painting.
View our "Projects of the Week" photo albums on our Facebook page, and other videos as well


Projects of the Week 09/06/25
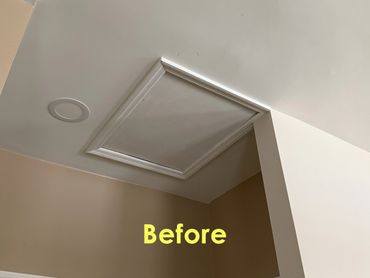
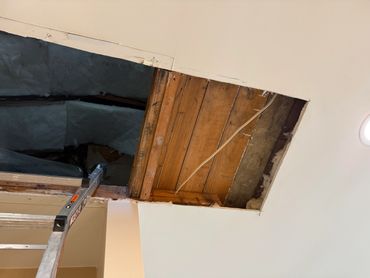
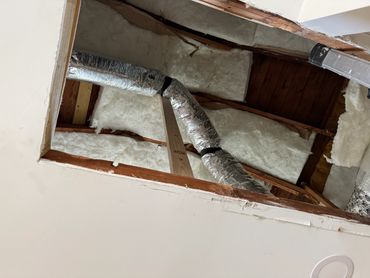
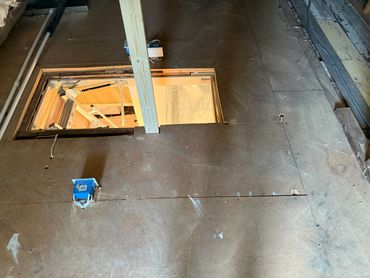
I worked on two fairly large projects this past week. I completed Lisa's attic access door/ladder installation. I discovered a wire running right through the attic door opening I cut in the ceiling drywall. This was unexpected, and complicated things a little bit, but I was able to re-route the wire fairly easily around the opening due to extra slack in the wire. To re-route the wire I had to remove more floor boards in the attic than originally planned. I was also able to re-route another wire that was just running openly on top of the floor boards underneath the floor boards as well. I also felt that one of the ceiling joists supporting the new attic door wasn't sound enough to support all the extra weight and traffic going up the ladder, and the ceiling was sagging a little bit. I used my adjustable support poles to jack up the ceiling a little, and then strung a 2x4 from the joist up to the rafter above to give it more support. That 2x4 also acts as something to hold on to while going up into the attic. Then I framed & blocked in more support for the floor boards as well. To keep the the new access insulated I installed a new cover over the top of it. Finally I installed, caulked filled nail holes, then painted the trim around it, and that door.
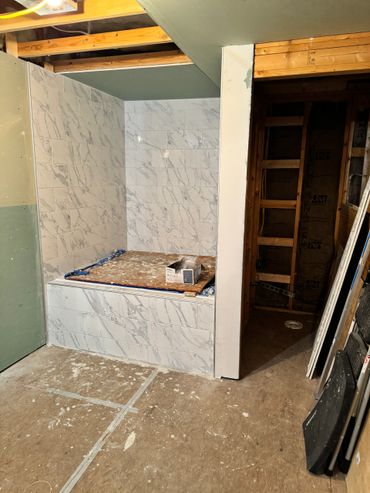
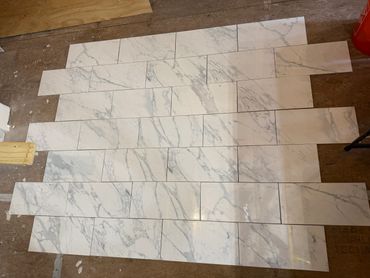
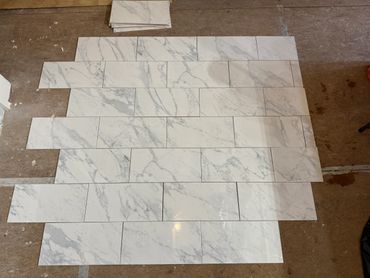
At my friend Trevor's place the tiling of his tub/shower continues with the tiling of the back and left side walls. Next I'll be tiling the plumbing wall, and then install all the tiles around the perimeter where the two sides will finish out with Satin Nickel aluminum bull nosing, as well as bull nosing on the front of the tub deck edge. The tricky part of this tile job is laying out the tile so some of the veining in the patterns line up so it flows better. Trevor is also an incredible Electrician. Some of my clients have used him, and he has done an amazing job for them.
Here's his Facebook page
White's Electrical Services
https://www.facebook.com/Ohmslaw303
View our "Projects of the Week" photo albums on our Facebook page, and other videos as well


This website uses cookies.
We use cookies to analyze website traffic and optimize your website experience. By accepting our use of cookies, your data will be aggregated with all other user data.